Coding, AI & game designAges 7–124 min read
By Charlotte ·
7 First Tinkercad Projects for Kids
Seven beginner Tinkercad projects for ages 7 to 12, in order of difficulty, with the skill each one teaches and tips for designs that print well.

Your child has opened Tinkercad, dragged a few shapes around and asked what to make. A good first project is small, useful and finished in one sitting.
Start with a name tag, then work up through a keychain, a pencil pot and a rocket. Each project adds one new skill: resize, group, hole, align, rotate. A 3D printer is optional.
Before you start
Tinkercad is free and runs in a web browser, so a Chromebook is fine. It needs an account, and children under 13 need a parent to approve it. A mouse makes rotating the view much easier than a trackpad.
The blue grid where shapes sit.
Joins shapes into one object.
A shape that cuts away instead of adding.
Lines shapes up neatly.
Projects 1 to 3: first wins
1. Name tag
A flat rectangle with the text tool on top. Teaches resizing and grouping. Add a hole in the corner and it becomes a bag tag.
2. Keychain
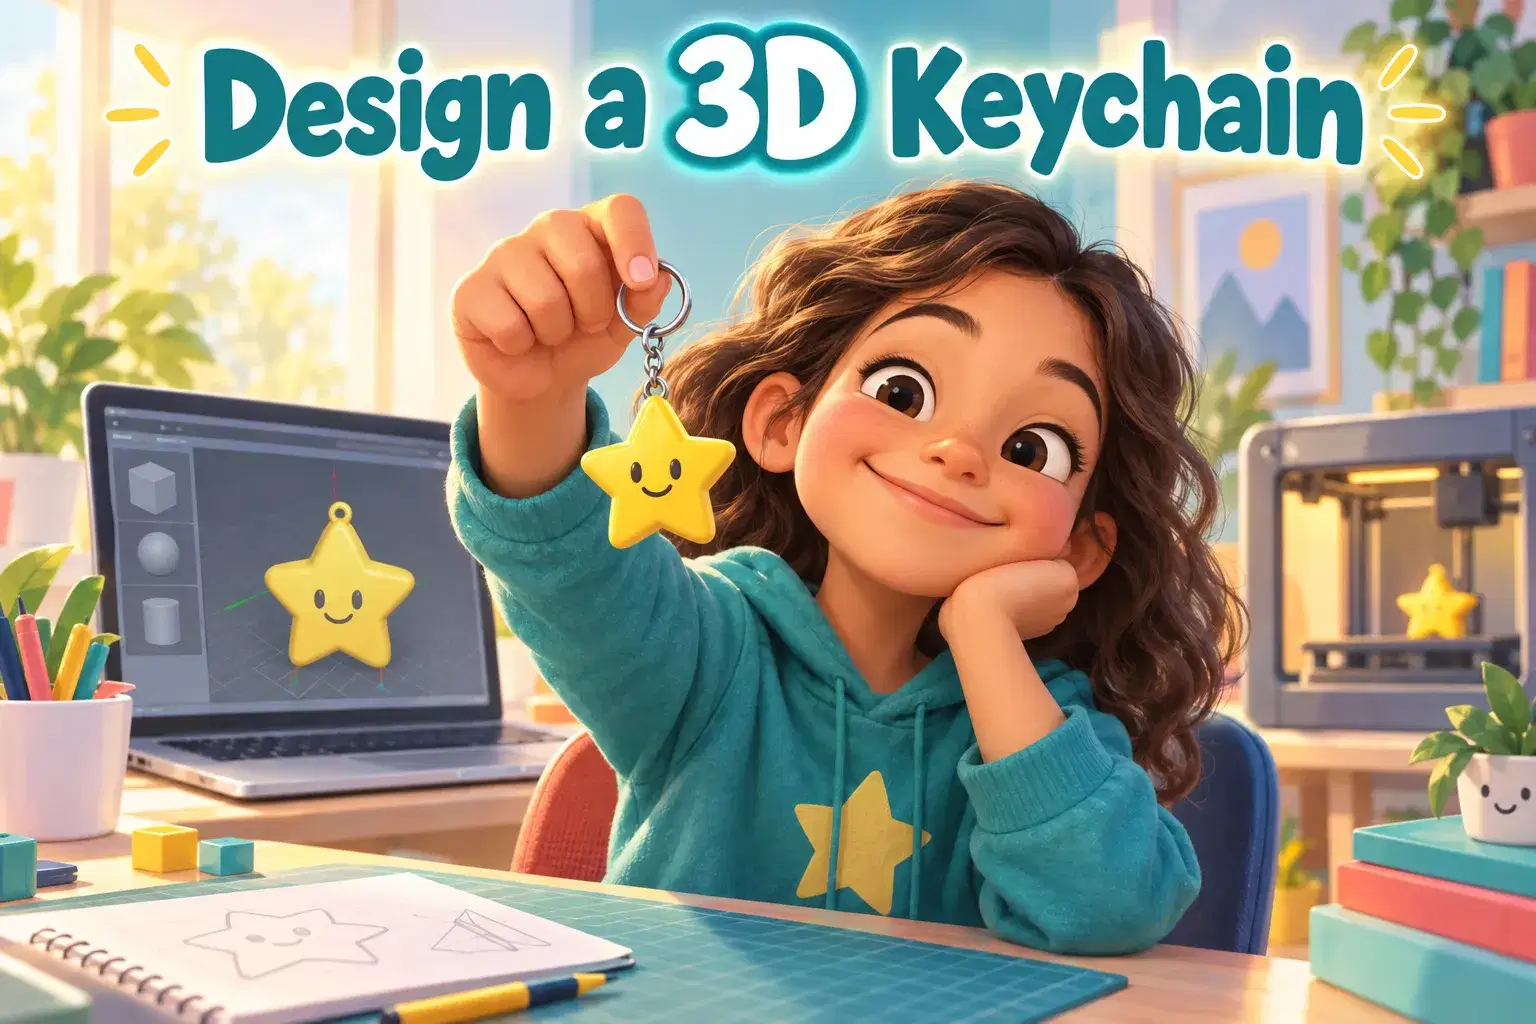
A favourite shape, such as a star or heart, with a ring at the top. Teaches combining shapes and using a cylinder as a hole.
3. Pencil pot
A cylinder with a slightly smaller cylinder set as a hole inside it. Teaches wall thickness: walls about two millimetres thick or more hold up well.
Let your child personalise every project. The same pencil pot with their initials or a dinosaur on the side is far more motivating.
 A live class on this1-on-1 3D Printing Design Coaching: Advanced Parts That Print First TimeAges 12–17
Projects 4 and 5: precision
4. Rocket
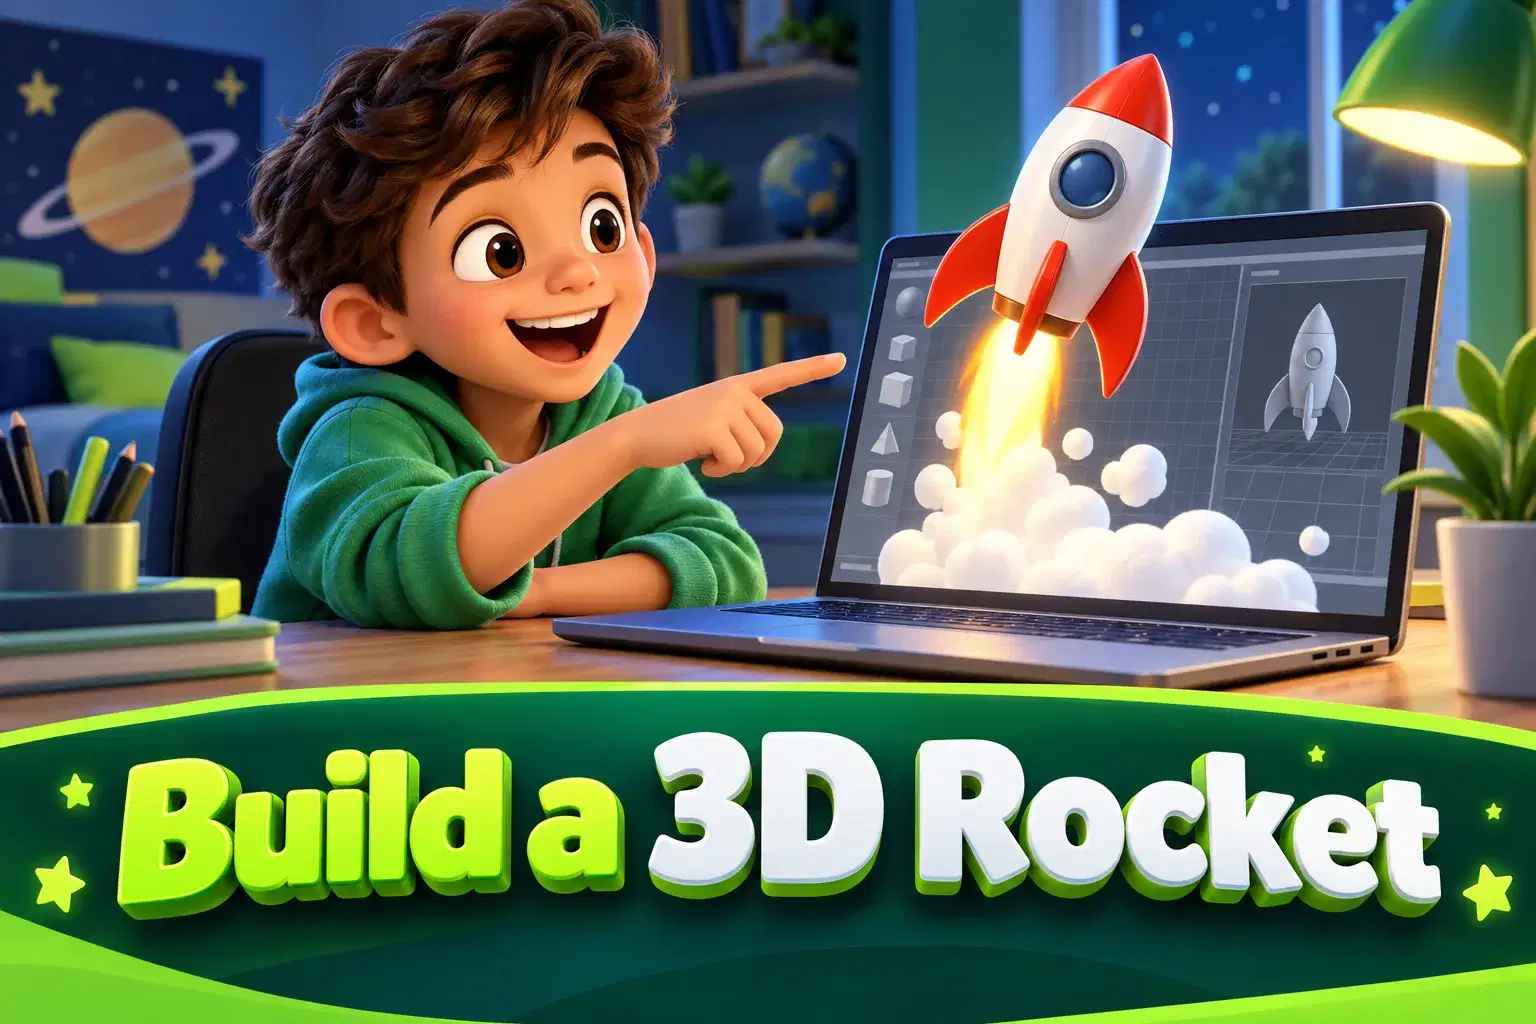
A cylinder body, a cone nose and three fins. Teaches rotate, duplicate and align. The fins are the challenge, and duplicate-and-rotate is the trick.
5. Dice
A cube with rounded edges and small sphere holes for the dots. Teaches careful placement on different faces and checking from every angle.
Projects 6 and 7: design thinking
6. Phone stand
Measure a real phone with a ruler, then design a stand that holds it at an angle. Teaches working to real measurements and testing an idea.
7. Maze or marble run tile
A flat square with raised walls. Teaches planning on paper first. Several tiles can be designed to join together.
Floating parts. Rotate the view underneath the model to check that everything touches. Anything hanging in mid-air will not print and looks odd on screen too.
If you plan to print
- Give every model a flat base.
- Keep thin parts at least two millimetres thick.
- Avoid large overhangs that stick out sideways with nothing beneath.
- Keep first prints small, so they finish quickly and use little material.
No printer? Many libraries and schools have one, and online services will print a file and post it. Not sure Tinkercad is the right tool? See Tinkercad vs SketchUp vs Blender for kids.
What parents can do next
- Create and approve the Tinkercad account.
- Do projects 1 to 3 in the first week.
- Ask your child to explain how they made each one. Explaining locks in the skill.
- After the phone stand, look at a class or a move to SketchUp for bigger builds.
Frequently asked questions
How long does a first project take?
A name tag or keychain takes 20 to 30 minutes. The rocket and phone stand take about an hour.
Does Tinkercad cost anything?
No. It is free to use in a web browser.
Can a seven-year-old use Tinkercad?
Yes, with an adult nearby for the first sessions. Dragging and resizing shapes is manageable at that age.
What comes after Tinkercad?
SketchUp for buildings and rooms, or Blender for characters and animation once your child is older.
Find a Tinkercad class
Live classes guide children through projects like these and show how to design things that print first time.