Art, music & makingAges 8–154 min read
By Amelia ·
How to Use Green Screen in Stop Motion Studio
A step-by-step guide for kids and parents to using green screen in Stop Motion Studio: setup, lighting, choosing a background and fixing common problems.
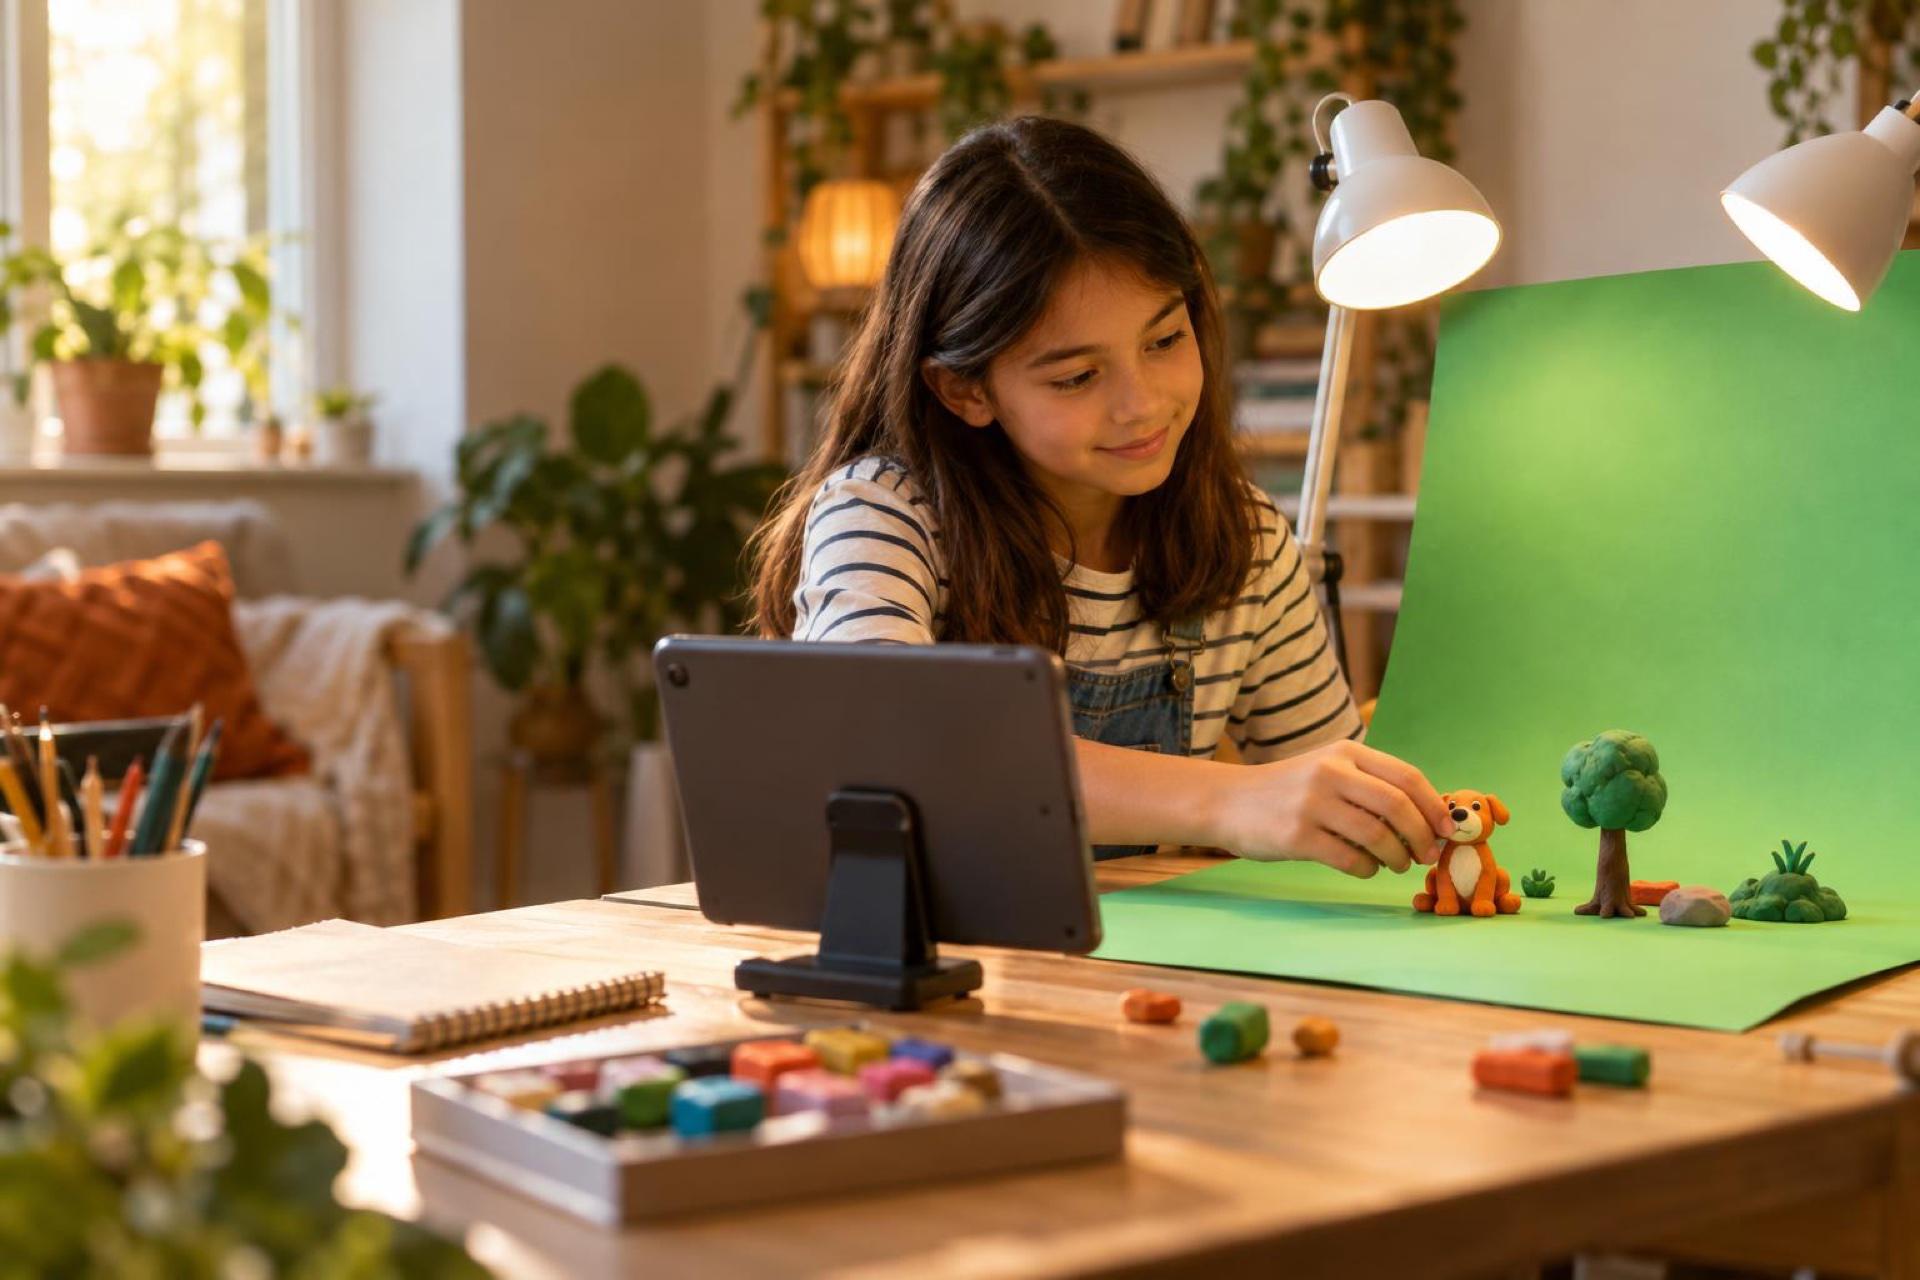
Green screen lets a clay character fly through space or a toy car race across a desert without leaving the kitchen table. In stop motion it is easier than it looks, as long as the background is evenly lit and nothing in the scene is green.
To use green screen in stop motion, film your characters in front of a plain green background, then tell the app which colour to remove and choose a picture to replace it. Even lighting and a steady camera matter more than expensive equipment.
What you need
- A phone or tablet with the Stop Motion Studio app.
- A stand or a stack of books to hold the device still.
- A sheet of plain green card or fabric with no creases.
- Two lamps, and characters that are not green.
In Stop Motion Studio the green screen tool is part of the paid upgrade at the time of writing. Check the app's current version before you plan a project around it.
Step 1: Set up the scene
- Tape the green card to a wall so it curves down onto the table with no fold.
- Place the characters a hand's width in front of the card to avoid shadows on it.
- Fix the device in place and do not move it again.
- Light the card from both sides so the green looks the same all over.
 A live class on thisAdobe Animate: Motion Tweening and Hand-Drawn TechniquesAges 13–18
Step 2: Turn on green screen
- Open your project and go to the camera view.
- Open the capture settings and choose the green screen option.
- Tap the green background so the app knows which colour to remove.
- Adjust the sensitivity slider until the green disappears but the characters stay solid.
- Choose a background picture from the app or from your photos.
Step 3: Animate
Now animate as usual: move a character a little, take a picture, and repeat. Twelve pictures make about one second of film. Keep hands and shadows out of the frame.
Take ten test frames and play them back before filming the whole scene. It is much easier to fix lighting now than later.
Fixing common problems
| Problem | Fix |
|---|---|
| Patches of green remain | Light the background more evenly or raise the sensitivity a little |
| Parts of a character vanish | The character has green or yellow-green on it; change its colour or lower the sensitivity |
| A green glow around edges | Move the characters further from the background |
| The background flickers | Close curtains and use lamps, because daylight changes between frames |
| The picture shifts | The device moved; fix it more firmly |
Project ideas
- A weather report with a toy presenter.
- A paper rocket travelling past planets.
- A clay animal exploring a photo of your garden.
- A toy car chase across a drawn city.
New to animation? Start with our guide to stop motion animation for kids.
What parents can do next
- Find a plain green sheet and two lamps.
- Help your child fix the device so it cannot move.
- Film a ten-frame test and adjust the lighting.
- Let them choose the background and tell the story.
Frequently asked questions
Do I need a real green screen?
No. Any plain, evenly coloured green card or fabric works. Avoid shiny or creased material.
Can I use a blue background instead?
Usually yes, and it is the better choice if a character is green. Pick the colour that does not appear on your characters.
Why does my character look see-through?
Its colour is too close to the background, or the sensitivity is set too high.
What age can children do this?
From about 8 with help setting up. Children of 10 and over can usually manage the whole process.
Learn animation with a teacher
Live online classes in animation, stop motion, photography and video for kids.