


Circuit Basics

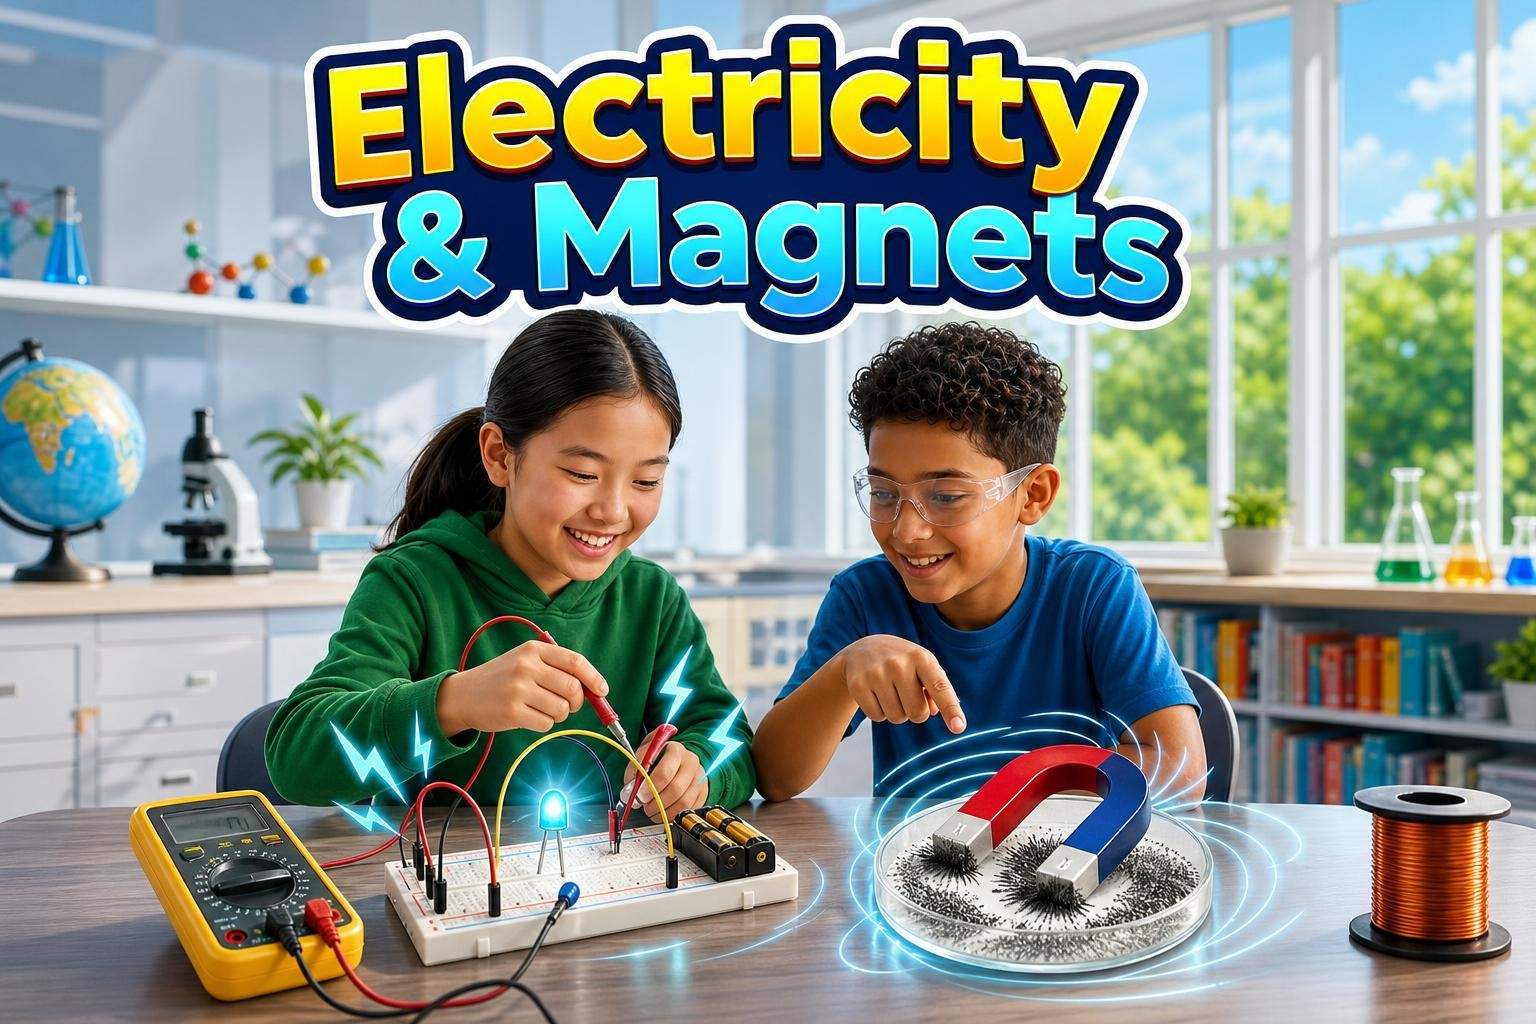
The learner explores voltage, current and resistance by wiring LEDs and buzzers on a breadboard or in Tinkercad.
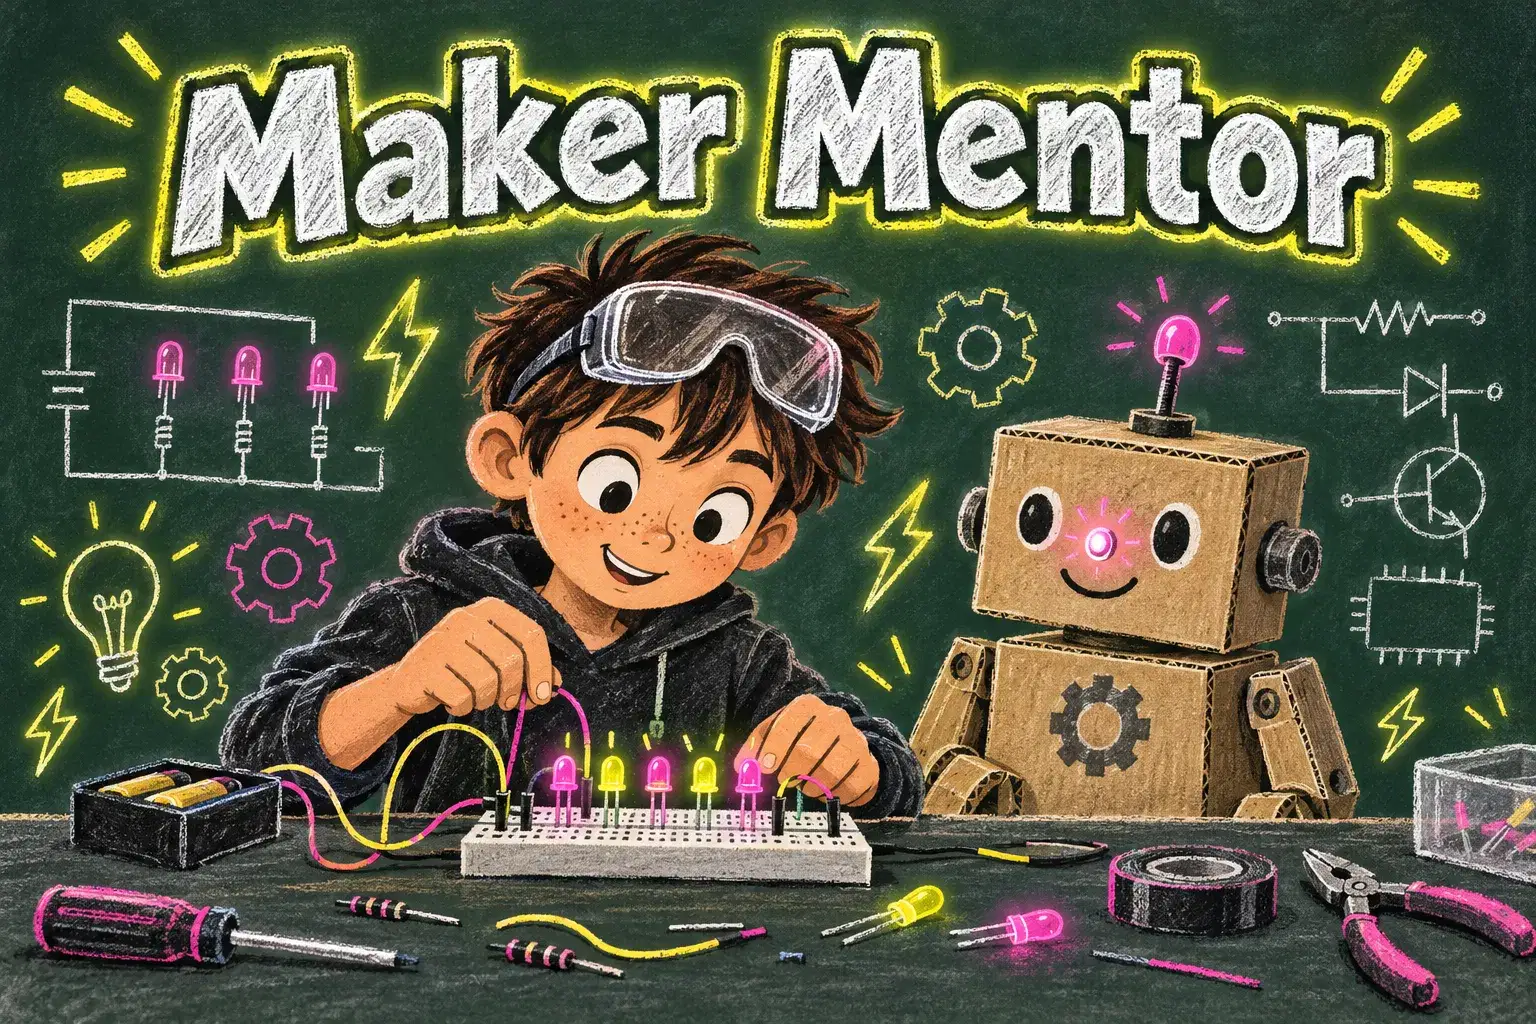
Six private mentoring sessions for young makers who want to build real electronics projects. Learners master circuits, sensors and simple microcontroller code, then design, build and debug a DIY invention of their own.
Paid once.
Many kids love taking things apart and dreaming up gadgets, but it can be hard to know where to start with real electronics. This one-on-one mentorship pairs a young maker with a coach who guides them from blinking their first LED to building an invention they designed themselves.
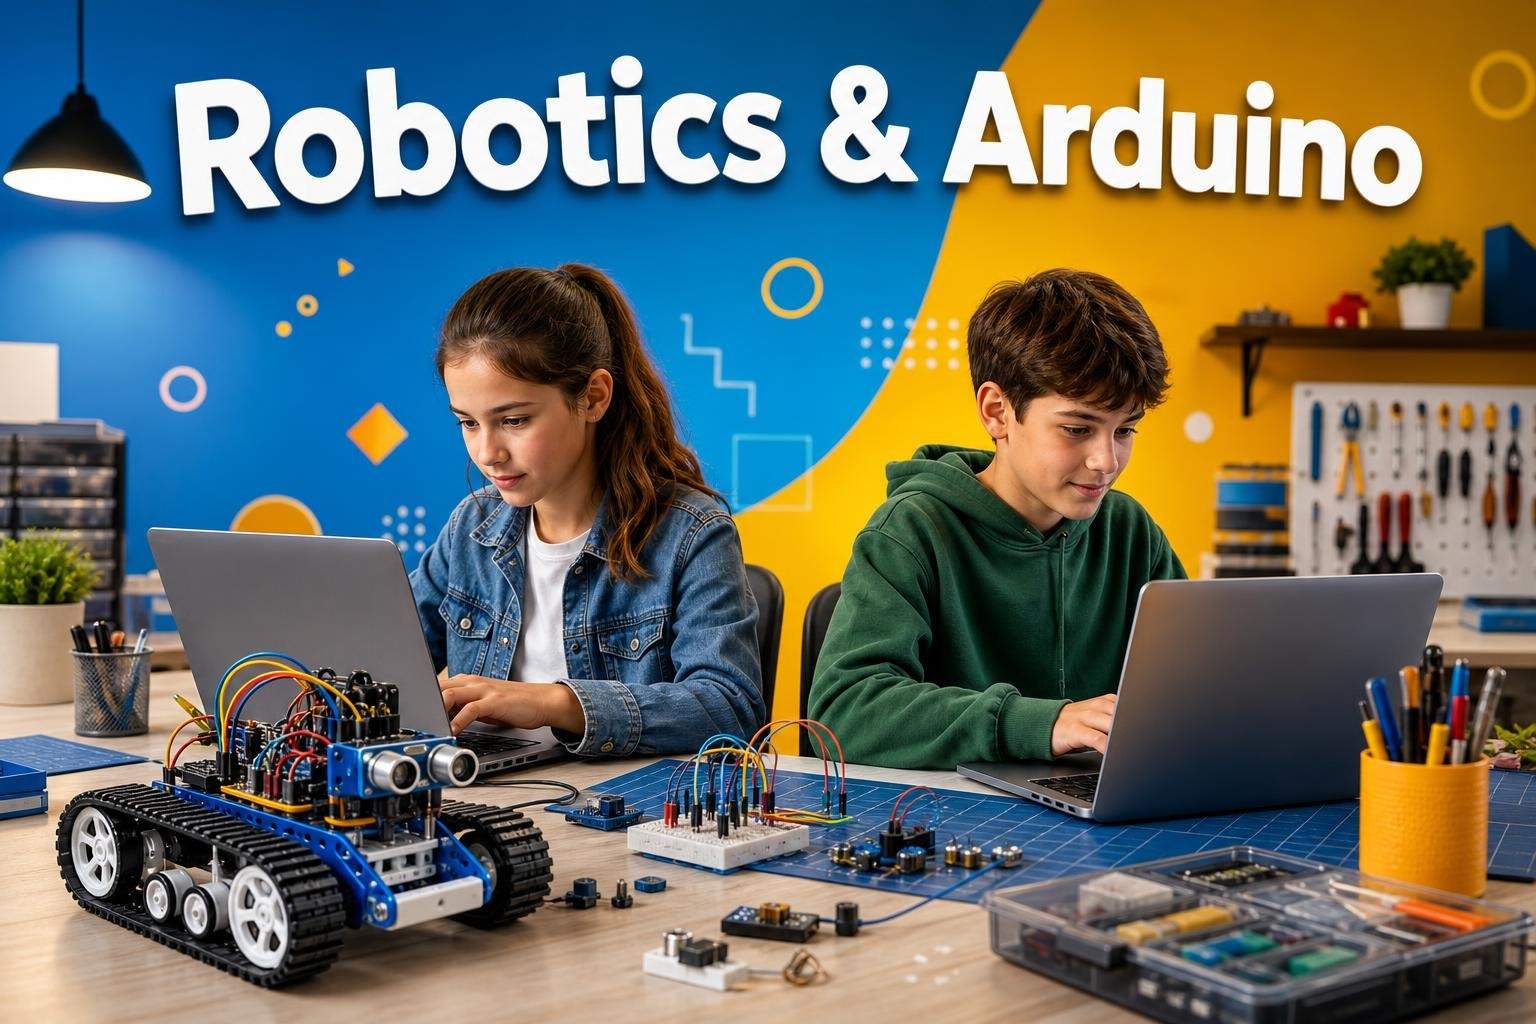
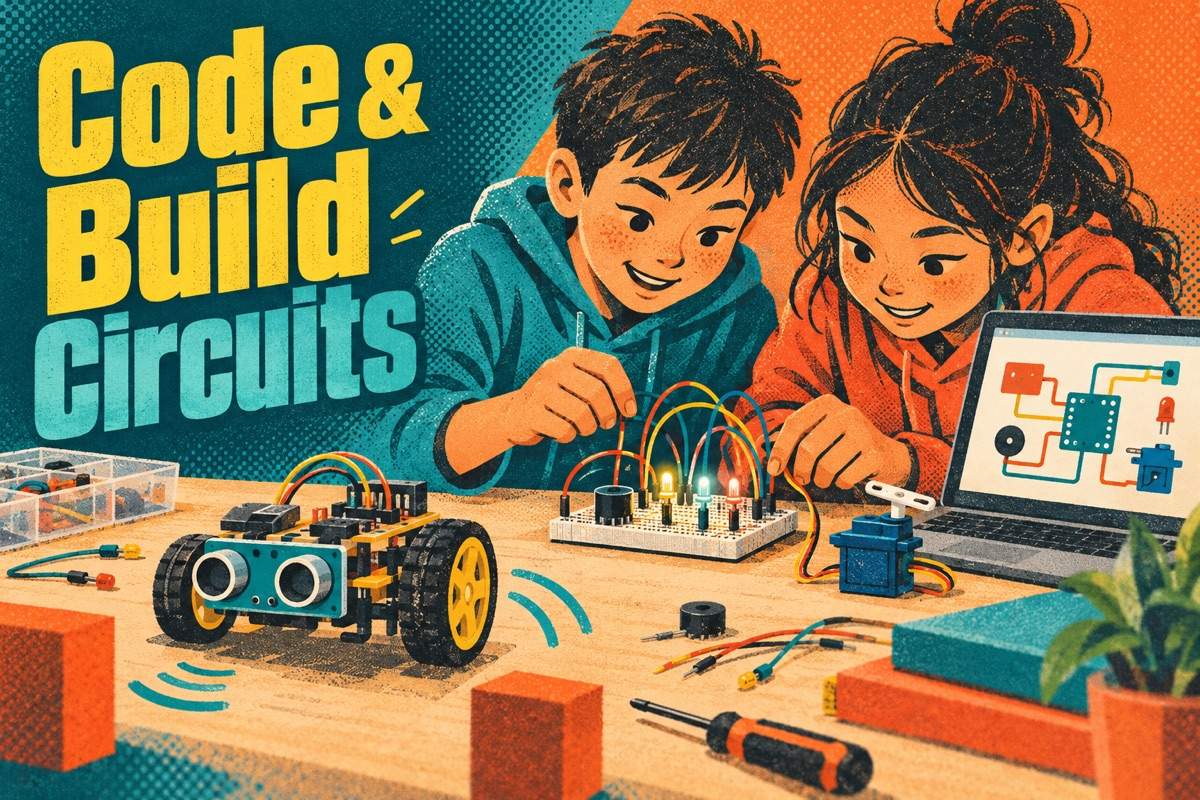
The first three sessions build core skills. Learners explore voltage, current and resistance by wiring LEDs and buzzers, then use switches, sensors and a breadboard to make circuits that respond to light, touch or motion. Session three introduces a microcontroller, either a real Arduino-compatible board or the free Tinkercad Circuits simulator, and learners write simple code to control their circuit.
The second half is the learner's own project. With the mentor's help, they sketch an idea such as a night light that turns on in the dark, a door alarm, a reaction-time game or a cardboard robot with moving parts, list materials and plan the build step by step. They then build, test and debug, learning how real makers track down loose wires and code mistakes.
Throughout, learners lead their own project decisions and explain their thinking out loud, building the independence and leadership of a real engineer. The course ends with a showcase of the finished build and a plan for the next project.
Sessions are scheduled one-on-one, once a week for six weeks. The mentor demonstrates on camera or in Tinkercad, then watches and guides as the learner builds. Learners can continue building between sessions with a short to-do list.
Session 1: Circuit Basics – Explore voltage, current and resistance by wiring LEDs and buzzers.
Session 2: Switches, Sensors and Breadboards – Build circuits that react to touch, light or motion.
Session 3: Microcontroller Intro – Write simple code to control lights and sounds on a board or in Tinkercad.
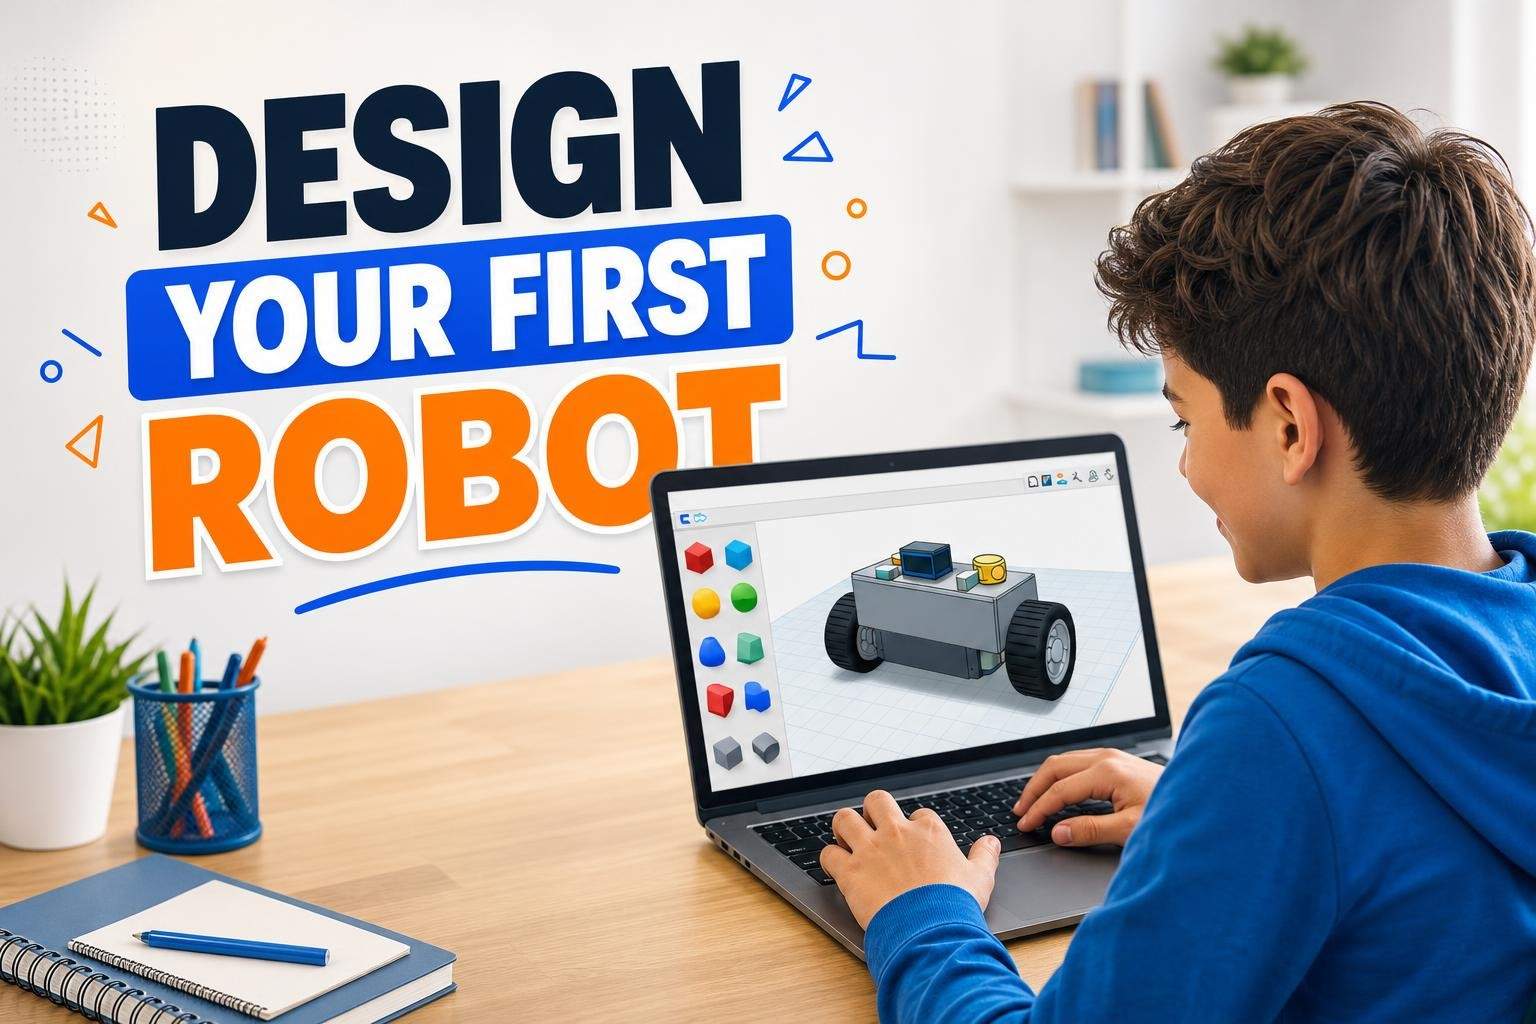
Session 4: Designing a Build – Sketch an invention, list materials and plan the build.
Session 5: Build and Debug – Assemble the project and troubleshoot wiring and code.
Session 6: Showcase and Next Project Plan – Demonstrate the finished build and plan what to make next.

Explain voltage, current and resistance in simple circuits
Build circuits with LEDs, switches, buzzers and sensors on a breadboard
Write simple microcontroller code to control outputs
Plan a DIY electronics build from sketch to materials list
Debug wiring and code problems methodically
Some building or basic coding experience (such as Scratch or block coding) is helpful but not required. A real microcontroller kit is optional; all activities can be done in the free Tinkercad Circuits simulator.
Computer with a free Tinkercad account; optional Arduino-compatible starter kit with breadboard, LEDs, resistors, buzzer, switch and sensors; cardboard, tape and scissors for project housing.
A step-by-step plan of what your child learns, class by class. · 6 Weeks
The learner explores voltage, current and resistance by wiring LEDs and buzzers on a breadboard or in Tinkercad.
The learner builds circuits that react to touch, light or motion using switches and simple sensors.
The learner writes simple code to blink lights and play sounds on a microcontroller board or in Tinkercad Circuits.
The learner sketches an invention, lists materials and plans the build step by step with the mentor.
The learner assembles the project and tracks down wiring and code problems methodically.
The learner demonstrates the finished build, explains how it works and plans a next project.
Next 7 days, US Eastern Time
No, a kit is optional. Every activity can be done in the free Tinkercad Circuits simulator. If you have an Arduino-compatible starter kit, the mentor will use it so your child builds with real parts.
This intermediate course suits ages 10 to 15. Some building or block coding experience such as Scratch helps, but the first sessions cover circuit basics from the start.
You choose a weekly time from the mentor's available slots after enrolling. Sessions can be moved with notice, and the camera should show the build area.
Projects use low-voltage, battery or USB-powered components, never mains electricity. The mentor teaches safe handling, and younger learners should have an adult nearby when cutting cardboard or using tools.
They will have a working DIY invention they designed themselves, either built with real parts or in Tinkercad, plus a plan for their next project.
Sneha is a game development educator who blends playful creativity with technical fundamentals to help children build and publish real games on Roblox. Over six years she has designed hands-on curricula that guide learners from simple part-based modeling to full scene composition…
Vaishnavi D.
Ages 10–13 · 45 min · 1 / Week
$23.50per classSee schedule
Sonali G.4.4
Club · Ages 7–12 · 55 min · 1 / Week
$18.00per classSee schedule
Vaishnavi D.4.0
Club · Ages 8–12 · 45 min · 1 / Week
$15.50per classSee schedule
Vaishnavi D.4.5
Club · Ages 7–10 · 45 min · 1 / Week
$15.50per classSee schedule
Sonali G.5.0
Club · Ages 11–14 · 55 min · 1 / Week
$18.00per classSee schedule
Khushi G.4.8
Ages 8–13 · 55 min · 1 / Week
$22.50per classSee schedule
Khushi G.5.0
Ages 10–13 · 55 min · 1 / Week
$18.00per classSee schedule
Khushi G.4.6
Ages 8–13 · 55 min · 1 / Week
$18.50per classSee schedule
Vaishnavi D.
Intermediate
Level
10–13
Ages
45 min
Duration
1 / Week
Classes
6
Weeks
Sonali G.
Beginner
Level
7–12
Ages
55 min
Duration
1 / Week
Classes
Ongoing
Weeks
Vaishnavi D.
Beginner
Level
8–12
Ages
45 min
Duration
1 / Week
Classes
Ongoing
Weeks
Vaishnavi D.
Beginner
Level
7–10
Ages
45 min
Duration
1 / Week
Classes
Ongoing
Weeks
Sonali G.
Beginner
Level
11–14
Ages
55 min
Duration
1 / Week
Classes
Ongoing
Weeks
Khushi G.
Beginner
Level
8–13
Ages
55 min
Duration
1 / Week
Classes
1
Weeks
Khushi G.
Beginner
Level
10–13
Ages
55 min
Duration
1 / Week
Classes
24
Weeks
Khushi G.
Intermediate
Level
8–13
Ages
55 min
Duration
1 / Week
Classes
8
Weeks