By Amanda Russell ·
How to Make Fossils at Home
Make fossils at home with salt dough or plaster: step-by-step instructions, safety tips for plaster, and a fun backyard dig to finish the project.
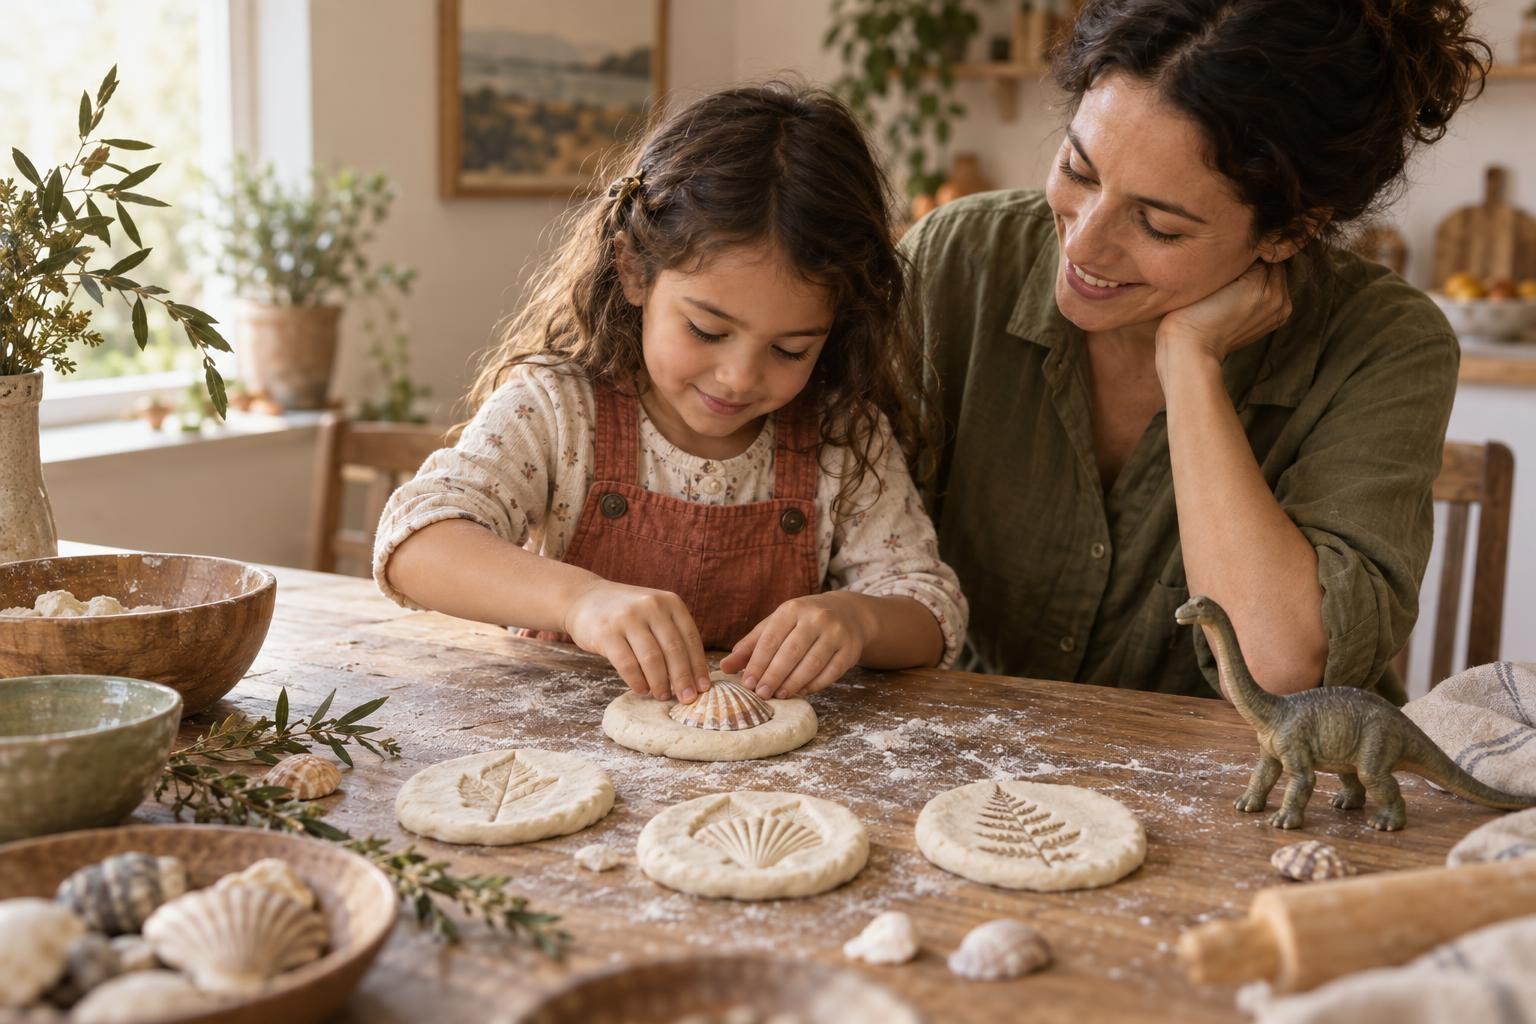
To make a fossil at home, press a shell, leaf or toy dinosaur into salt dough or plaster, lift it out, and let the mold harden. The shape left behind is an imprint, just like the ones found in real rock. Salt dough is the easiest place to start, and plaster makes a sturdier, more realistic "rock."
Salt dough imprints suit kids from about age 3 and make mold fossils. Plaster casts suit kids about 6 and up with close adult help and make raised cast fossils. Never put hands in wet plaster, keep oven work for adults, and finish with a sandbox dig to turn the project into a mini paleontology adventure.
How real fossils form
Most fossils form when a plant or animal is buried quickly in mud or sand. Over a very long time, the layers harden into rock. Sometimes the living thing leaves only its shape behind.
Scientists call that shape a mold fossil. When minerals later fill the mold, they make a cast fossil, a 3D copy of the original. Your homemade fossils can show both types.
Method 1: Salt dough imprint fossils
This works well for kids as young as three, with an adult handling the oven.
What you need
- 2 cups all-purpose flour
- 1 cup salt
- About 1 cup water (add it slowly)
- Shells, leaves, pinecones or small plastic dinosaurs
- A baking tray lined with parchment paper
Steps
- Mix the flour and salt in a bowl. Add water a little at a time and stir until a firm dough forms.
- Knead the dough for a few minutes until it is smooth and not sticky. Add a sprinkle of flour if it sticks to hands.
- Roll a handful into a ball and flatten it into a thick disk on the tray. Make it wider than the object you will press.
- Press your shell, leaf or toy firmly into the dough. Toy dinosaurs can make body prints or a trail of footprints.
- Lift the object straight up so the edges stay crisp.
- Remove every toy from the tray. Only dough goes in the oven.
- Bake at a low temperature until hard. Many recipes suggest around 250°F for a few hours, or air-dry for two to three days. Thicker pieces take longer.
- Let the fossils cool completely before handling.
Once cool, kids can brush brown or gray paint into the imprint and wipe the surface. This makes the detail stand out like a museum specimen.
Method 2: Plaster cast fossils
This version makes both a mold and a cast. It suits kids about six and up with close adult help.
What you need
- Modeling clay or play dough
- Plaster of Paris
- A disposable cup and stirring stick
- Cool water
- A strip of card or a paper cup with the bottom cut off
- A shell or toy dinosaur
Steps
- Flatten a thick disk of clay. Press the object in firmly, then lift it out. This is your mold.
- Wrap the card strip around the disk to make a wall, and tape it closed.
- An adult mixes the plaster with cool water in the disposable cup, following the package directions.
- Pour the plaster gently into the mold until it is about an inch deep.
- Leave it undisturbed until fully hard. Check the package for setting time.
- Peel away the card and clay. The plaster shows a raised copy of your object, which is a cast fossil.
Compare the two methods
| Method | Best for | Time to finish | Result |
|---|---|---|---|
| Salt dough | Ages 3 and up | A few hours baking, or days air-drying | Mold fossil (imprint) |
| Plaster cast | Ages 6 and up, with adult help | Varies by brand; often under an hour to set | Cast fossil (raised copy) |
Safety and cleanup
Salt dough is very low risk, but plaster needs a few precautions.
- Never put hands or fingers into wet plaster. Plaster heats up as it sets and can cause serious burns. Only cast objects, never body parts.
- Avoid the dust. An adult should scoop the powder gently, without shaking it, in a ventilated area.
- Do not pour plaster down the sink. It can harden in pipes. Let leftovers set in the cup and throw it away.
- Salt dough is not food. It is very salty and can make pets sick, so keep it away from dogs.
- Oven work is an adult job. Let an adult place and remove the tray.
Turn it into a dig
Once you have a few fossils, hide them in a sandbox or a bin of sand or dry rice. Give your child a paintbrush and a spoon and let them "excavate" slowly.
Ask questions as they dig. What kind of animal or plant made this print? Was it big or small? Did it live on land or in water? Matching each fossil to a picture in a dinosaur book adds a reading and research layer.
Kids who love this kind of hands-on science often enjoy a live class where a teacher shows real fossil photos and answers their dinosaur questions.
Frequently asked questions
Can we make fossils without an oven?
Yes. Salt dough air-dries in two to three days if you flip it occasionally. Plaster needs no oven at all.
Why did my salt dough fossil puff up or crack?
Too much heat or a very thick piece can cause puffing and cracks. Bake lower and longer, and keep disks an even thickness.
How can we make our fossils last?
Let them dry completely, then paint and seal them with a craft varnish or clear glue. Store them somewhere dry.
What's the difference between a mold and a cast fossil?
A mold fossil is the hollow shape left behind, like a salt dough imprint. A cast fossil forms when that shape is filled in, like the raised plaster copy.
Dig deeper into prehistoric life
Live classes let young fossil hunters see real fossil photos, explore prehistoric eras and ask a teacher all their dinosaur questions.