By Rebecca Spencer ·
How to Help Your Child Research a History Project
Help your child research a history project step by step: pick a topic, find trusted sources, take notes, check facts twice and cite sources simply.
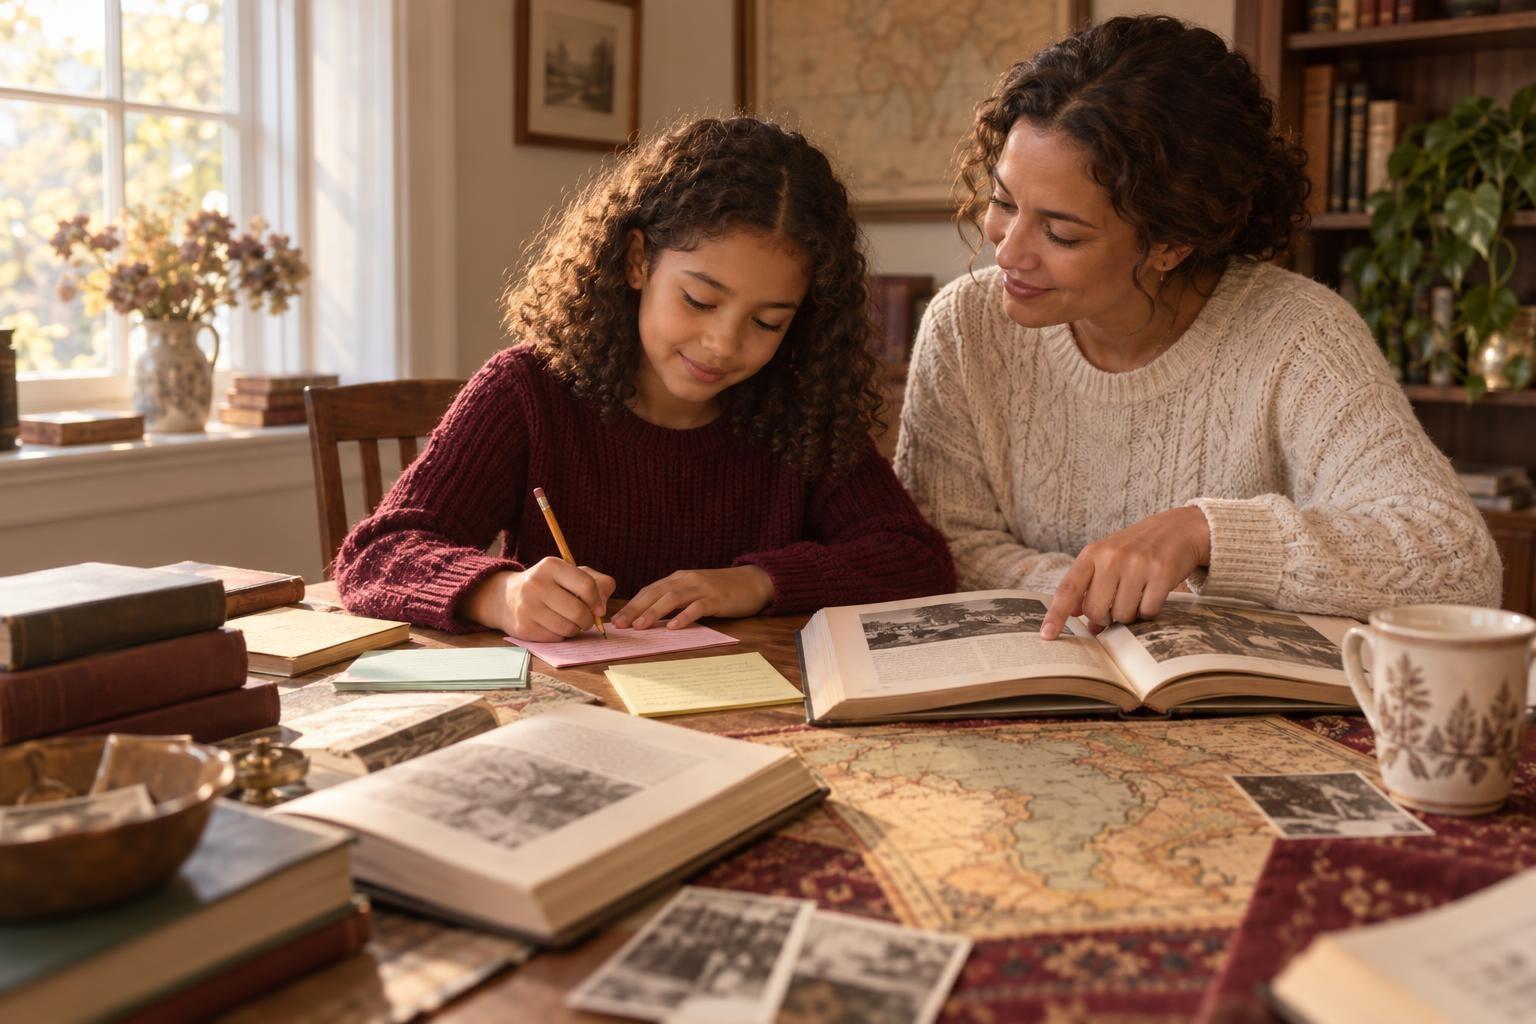
Start with a library book or a trusted museum website, then have your child jot down facts and where they found them as they go. Teach them to check each important fact in two places. Those three habits turn a stressful history project into a manageable one.
Be the guide, not the researcher. Help your child narrow the topic, write two or three guiding questions, start with a general source, move to trusted museum, library and archive sites, note the source for every fact, check key facts twice, and write the final project in their own words.
Your role as the parent
Think of yourself as a guide, not the researcher. Your job is to help your child ask good questions, find reliable sources and stay on schedule. The ideas, notes and final writing should be theirs.
Read the teacher's assignment sheet together first. Highlight the due date, required length, number of sources and any format rules.
Step by step: a history research plan
- Pick a narrow topic. "World War II" is too big. "Kids on the home front in World War II" is a project. Help your child shrink the topic until it fits the assignment.
- Write two or three guiding questions. Who was involved? What changed? Why does it matter? Questions keep research focused.
- Start with a general source. A kids' library book or encyclopedia entry gives the big picture. Ask a librarian for age-appropriate books.
- Move to trusted websites. Museum, library, university and government sites are strong choices. More on these below.
- Take notes with sources. Every fact gets a note on where it came from: title, author or website, and page or link.
- Check key facts twice. Dates, names and numbers should match in two separate reliable sources. If they don't, dig deeper.
- Sort notes into sections. Group facts under each guiding question. This becomes the outline.
- Create the project. Your child writes, draws or builds in their own words, using the outline.
- List the sources. Follow the format the teacher asks for. For younger kids, a simple list of titles and websites is usually fine.
Where to find good sources
| Source type | Examples | Why it helps |
|---|---|---|
| Library books | Kids' nonfiction, biographies, history series | Written for your child's reading level and fact-checked by publishers |
| Museum websites | History and art museums, historic sites | Expert-written, often with photos of real objects |
| National archives and libraries | Library of Congress, National Archives | Original documents, photos, maps and letters |
| Your school or public library's databases | Online encyclopedias and kids' research tools | Reliable articles, often free with a library card |
Primary vs. secondary sources
A primary source was made at the time: a letter, photo, diary, newspaper or map. A secondary source explains the past later, like a book or article. Older kids can make a project shine by including one primary source.
Try asking, "Who made this, and why?" when looking at a primary source. It's a simple start to thinking like a historian.
Teaching your child to check facts
Kids often trust the first thing they see online. Give them a short checklist to use on any website:
- Who wrote it? Look for a museum, library, university or named expert.
- Why was it made? To teach, to sell, or to share an opinion?
- When was it updated? Newer isn't always better in history, but broken pages are a warning sign.
- Does another source agree? If a fact only appears in one place, be careful.
AI chatbots and video summaries can get history facts wrong. If your child uses one for ideas, have them confirm every fact in a real source.
Keeping notes organized
- Index cards: One fact per card, with the source on the back. Kids can shuffle cards into order later.
- A simple chart: Columns for "Fact," "Source" and "Which question it answers."
- Color coding: One color per guiding question makes sorting quick.
- In their own words: Have your child close the book, then write what they remember. This prevents copying.
Make history come alive
Projects stick when kids connect with them. Visit a local historic site, interview a grandparent, or cook a recipe from the period. Creative kids might rebuild a historic place in a game, like the ideas in Social Studies With Minecraft.
Some kids benefit from hearing history told as a story. A live history class can spark questions your child then wants to research on their own.
What to watch for
- Last-minute panic: Break the project into small dated tasks on a calendar.
- Copying text: Even accidental copying can count as plagiarism. Reinforce "read, close, write."
- Online safety: Younger kids should search with you nearby. Use kid-friendly search settings and stick to trusted sites.
- Hard topics: History includes war and injustice. Preview material and talk through anything upsetting.
Frequently asked questions
How many sources does my child need?
Follow the teacher's guidelines first. If none are given, two or three solid sources is a good target for elementary students. Older kids may need more.
Is Wikipedia okay to use?
Many teachers prefer kids not cite it directly. It can be a starting point, though. Have your child follow its references to find sources they can cite.
How much should I help?
Help with planning, finding sources and staying on track. Let your child do the reading, note-taking and writing. Their own work, even if imperfect, is what teachers want to see.
What is a primary source?
Something made at the time being studied, such as a letter, photo, diary, newspaper or map. Including one can make an older child's project stand out.
Make the past exciting for your child
Live history classes tell the past as a story and spark the kind of questions kids then want to research on their own.