By Sarah Lawson ·
How to Build a Simple Circuit with Your Child
Build a simple circuit with your child using a battery, wires and a bulb or LED. Step-by-step guide, easy experiments and key safety tips for families.
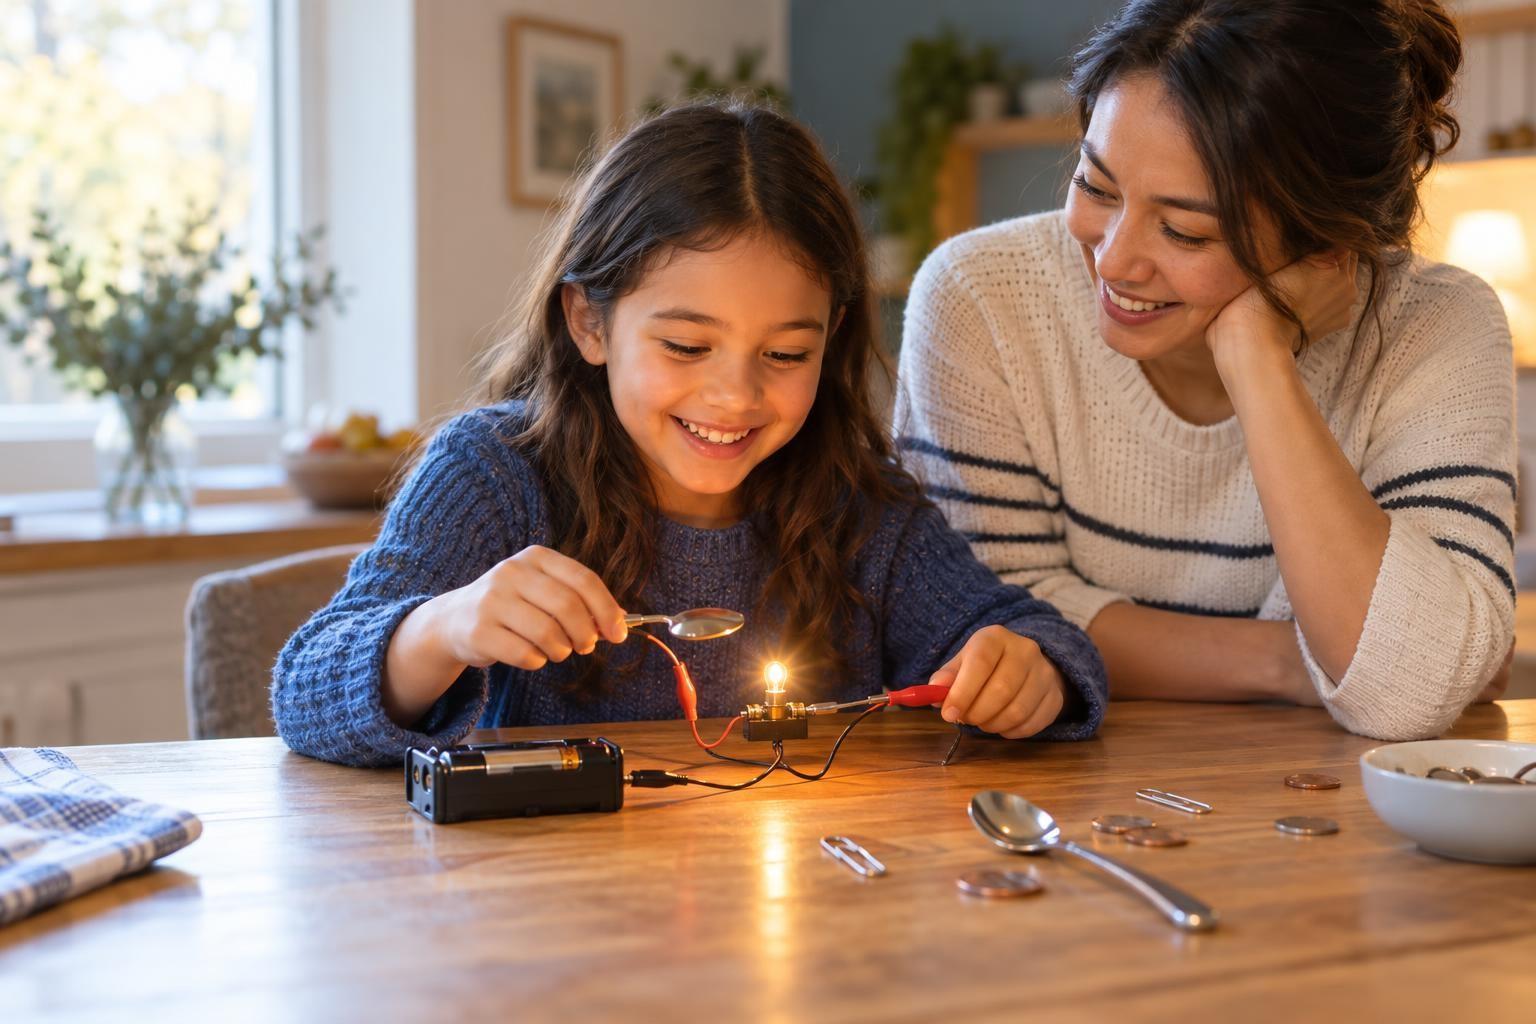
To build a simple circuit, you need a power source, a path for electricity, and something that uses the power. A battery, a few wires and a small bulb or LED is enough, and a beginner circuit kit makes the first try safe, tidy and quick. Most kids from about age 6 can do this with an adult nearby; older kids can take the lead.
A circuit is a loop: if it is broken anywhere, nothing lights up. Use only household AA or AAA batteries, start with a snap-together kit or loose parts with alligator clips, build one loop, then experiment with conductors, switches and a second bulb. Keep coin batteries away from little ones and never connect + straight to –.
What a circuit actually is
A circuit is a loop. Electricity leaves the battery, travels through a wire, passes through the bulb, and returns to the battery. If the loop is broken anywhere, nothing lights up.
That one idea explains almost everything your child will see. A switch simply opens and closes the loop. A dead bulb or loose wire breaks it. Once kids "get" the loop, troubleshooting becomes a fun puzzle.
What you need
You can buy a kit or gather the parts yourself. Here is how the options compare.
| Option | What is included | Best for |
|---|---|---|
| Snap-together circuit kit | Parts that click onto a base board, with picture guides | Ages 6–10, first-timers, kids who like following diagrams |
| Loose parts | AA battery holder, insulated wires with alligator clips, small bulb or LED | Ages 9 and up, kids who want to see how parts really connect |
| Paper or dough circuits | Coin cell, LEDs, copper tape or conductive dough | Crafty kids, greeting cards, art projects |
For a loose-parts build, gather these items:
- A battery holder for two AA batteries, with wires attached
- Two or three short wires with alligator clips on each end
- A small flashlight-style bulb in a holder, or an LED made for low-voltage hobby use
- A resistor if you use an LED with AA batteries (many hobby LEDs list the one they need)
- Optional: a simple switch, a paper clip and some foil
Stick with household AA or AAA batteries. They are low voltage and safe to handle. Never use wall outlets, car batteries or anything plugged in.
Step by step: your first circuit
- Set up a clear workspace. Use a table with nothing metal on it. Lay out each part and name it together.
- Put the batteries in the holder. Match the plus (+) and minus (–) marks inside the holder. Ask your child to find the signs.
- Find the two sides of the bulb or LED. A bulb holder has two screws or tabs. An LED has two legs; the longer leg is usually the positive side.
- Connect the positive side. Clip one wire from the battery's positive (+) lead to one side of the bulb. For an LED, clip it to the longer leg, with the resistor in between.
- Close the loop. Clip a second wire from the other side of the bulb back to the battery's negative (–) lead.
- Watch it light up. If it does, celebrate! If not, move on to troubleshooting below.
- Break the loop on purpose. Unclip one wire and watch the light go out. Clip it back on. Your child has just made a switch.
If nothing lights up
- Check that every clip is firmly on bare metal, not on plastic.
- Flip the LED around. LEDs only work in one direction.
- Try fresh batteries and make sure they face the right way.
- Test the bulb in a flashlight, if it fits, to see if it works.
Treat each problem as a clue. Asking "Where could the loop be broken?" builds real scientific thinking.
Easy experiments to try next
Conductor or insulator?
Unclip one wire and leave a gap in the loop. Have your child bridge the gap with different objects: a spoon, a pencil, a coin, a rubber band, foil. Make a two-column chart of what lights the bulb and what doesn't.
Pencil "lead" is a fun surprise. Graphite can carry a little current, so a bulb may glow faintly when you touch both ends of a pencil core.
Build a paper clip switch
Tape two metal thumbtacks or brads onto a piece of cardboard. Attach a wire to each one. Hook a paper clip on one tack so it can swing over to touch the other. Now your child can turn the light on and off.
Add a second bulb
Try two bulbs in a single line (a series circuit), then try giving each bulb its own path back to the battery (a parallel circuit). Ask which setup makes brighter bulbs. Kids love predicting, then testing.
Safety and what to watch for
- Coin and button batteries: These are dangerous if swallowed. Keep them away from young children and siblings, and store spares out of reach. If you think a child swallowed one, get emergency medical help right away.
- Short circuits: Never connect a wire straight from + to – with nothing in between. The wire and battery can get hot. Unclip anything that feels warm.
- Only low-voltage batteries: Teach clearly that outlets, appliances and power cords are never part of experiments.
- Small parts: LEDs, resistors and clips are choking hazards for toddlers. Clean up fully afterward.
- Adult nearby: Younger kids should build with you at the table. Older kids can work more independently once they know the rules.
Keep the curiosity going
Ask open questions as you go. "Why do you think it stopped working?" and "What would happen if…?" matter more than getting it right the first time. Let your child draw each circuit as a simple diagram, too.
If your child wants more, a live class can walk them through bigger projects with a teacher who can spot the loose wire. Small groups also let kids share what they built and learn from each other.
Frequently asked questions
What age can kids start building circuits?
Many kids can enjoy snap-together kits from about age 6 with an adult helping. Loose wires and LEDs suit kids around 9 and up. Always check the age label on any kit you buy.
Do I need a resistor for an LED?
Often, yes. An LED can burn out without one when using AA batteries. Many hobby LEDs and kits list what you need, and some kits build it in. Small bulbs don't need a resistor.
Is it safe to touch the wires?
With one or two AA batteries, touching the wires won't shock your child. The main risks are hot wires from a short circuit and swallowed small batteries. Follow the safety list above.
Why won't my LED light up?
LEDs only work in one direction, so try flipping it around. Then check that every clip touches bare metal and the batteries are fresh and facing the right way.
Go further with sparks, magnets and reactions
Live science classes help curious kids build bigger projects with a teacher who can spot the loose wire, plus classmates to share discoveries with.